How to Make Excel Spreadsheet Bigger When Printing (7 Ways)
You cannot make your Microsoft Excel spreadsheet bigger (unless you want to change the page size). But in this article, we will show some tips and tricks that you can use to print large datasets in a smaller space.
Make Excel Spreadsheet Bigger When Printing: 7 Easy Ways
Here’s an image of a worksheet. This data has 5 columns. So, it is tough to fit all these pages into 1 page. 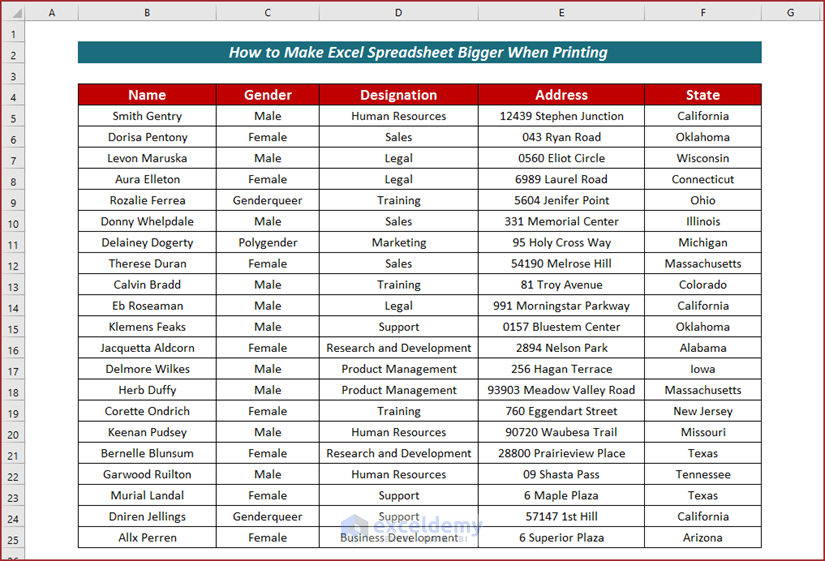 In the following picture, we can see the page preview dotted lines. The last two columns will not print.
  To make an Excel spreadsheet bigger when printing, you can follow any of the ways described below.
Method 1 – Making Page Adjustments
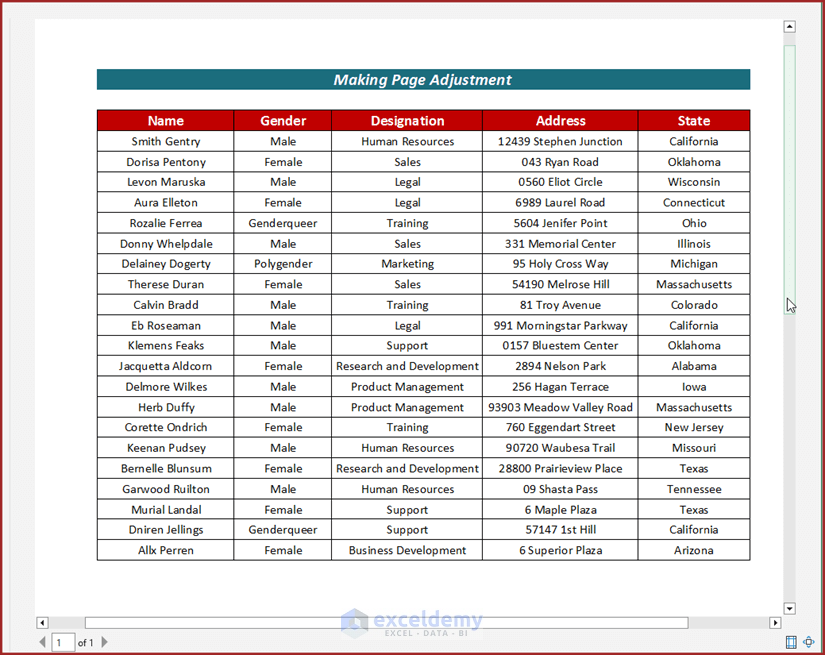
In the Print Preview section, we can see that the entire dataset got adjusted on one page.
Now, you can click on Print to print the entire dataset making the spreadsheet bigger when printing.
Method 2 – Changing Orientation
Use print in landscape mode for higher column numbers and portrait mode for higher row numbers.
Steps:
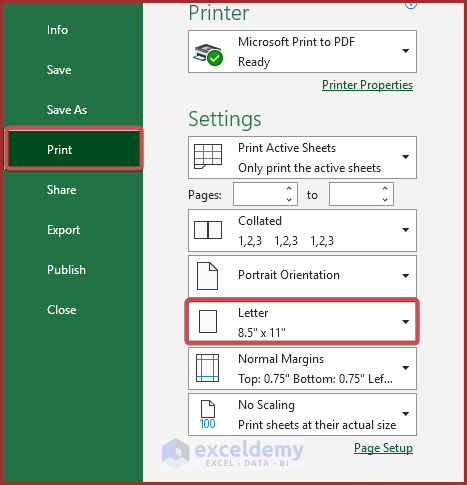
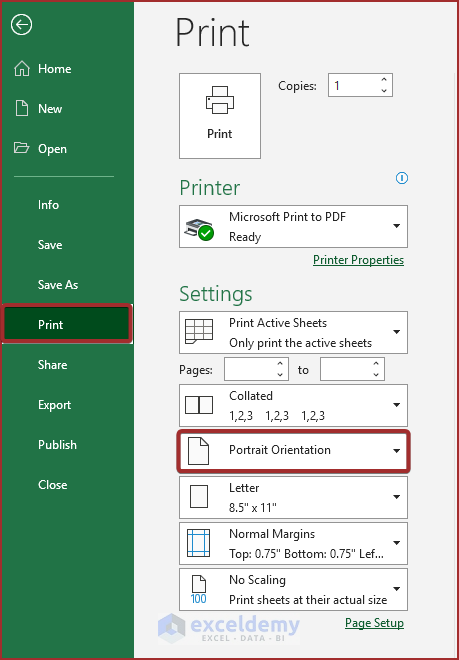
- Go to the File tab.
- Select the Print option.
- Select the Portrait Orientation option from the Settings section.
- Select Landscape from the Orientation for our dataset.
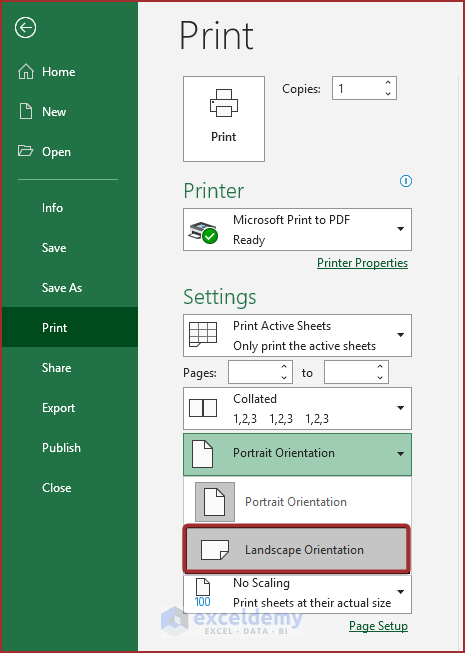
- We can see that the entire dataset got adjusted on one page in the Print Preview section.

Method 3 – Applying Page Size Feature
Steps:
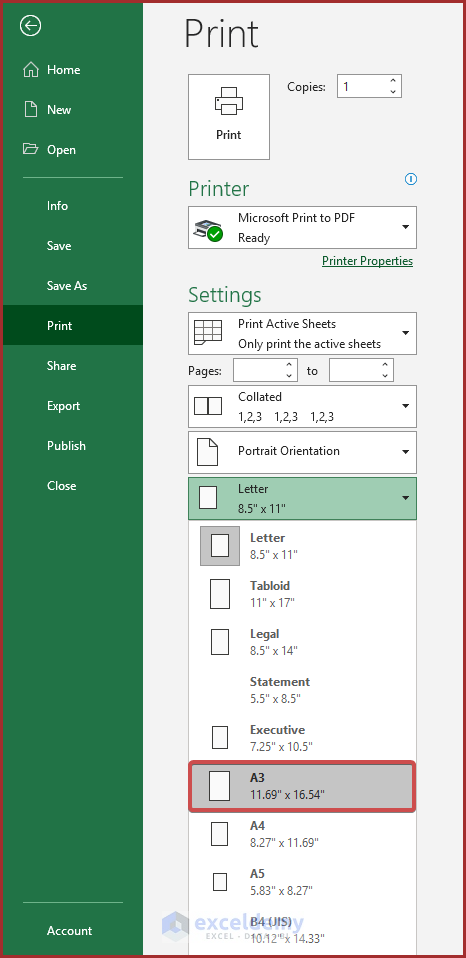
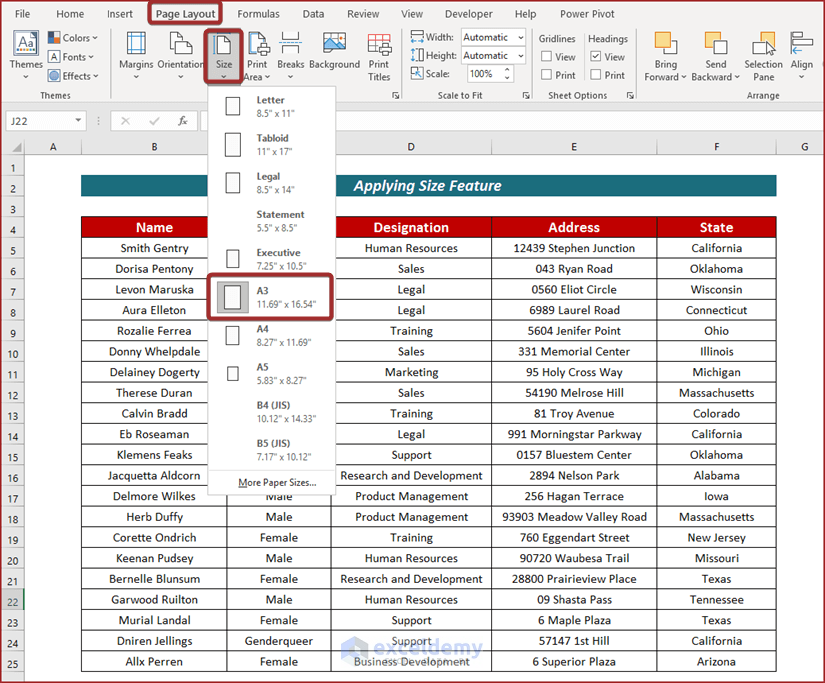
- Click on the Page Layout tab.
- Select Size from the Page Layout.
- You can choose according to your demand from the page size options. Here, we have chosen A3 to keep all the columns on one page. You can also try the A4 sheet size for printing since it is the most popular sheet size.
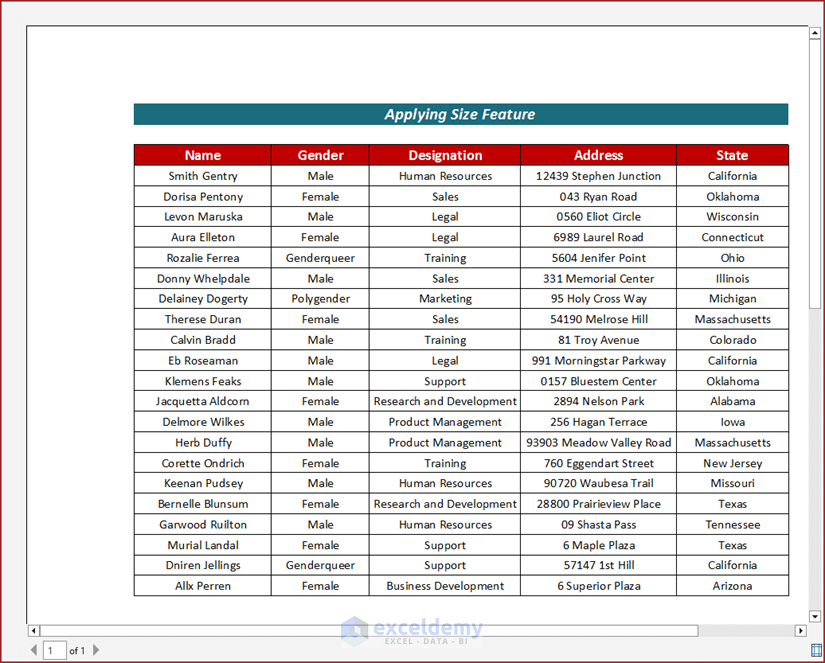
- Now, if you print the entire dataset, you will see that all the columns are on one page. We can confirm that in the Print Preview section.
Method 4 – Using Fit Sheet on One Page Option
Steps:
- Go to the File tab.
- Select the Print option.
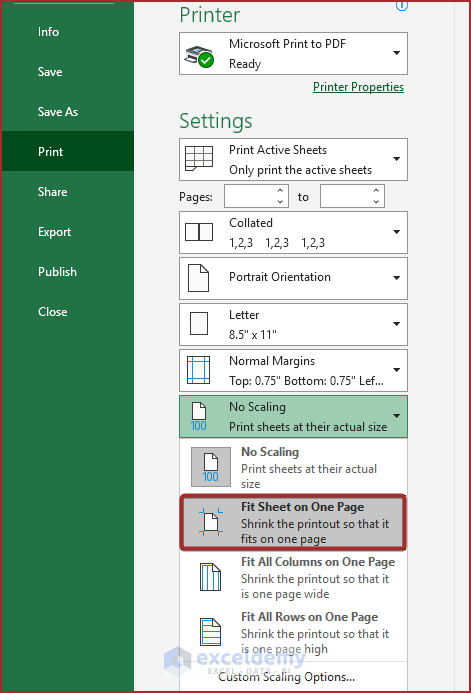
- Select the No Scaling option from the Settings section.
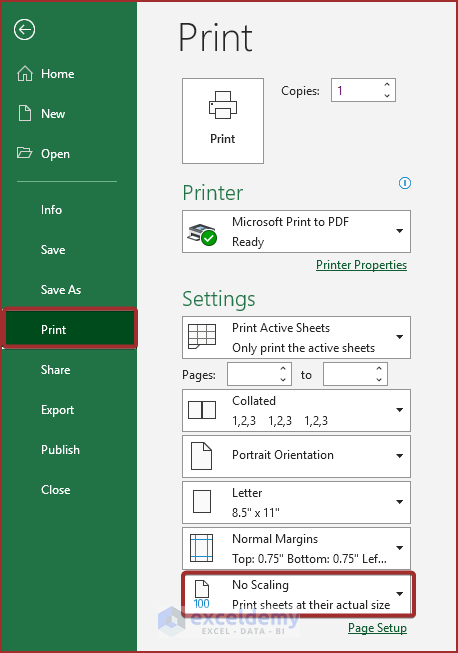
- Pick Fit Sheet on One Page option from the No Scaling section.
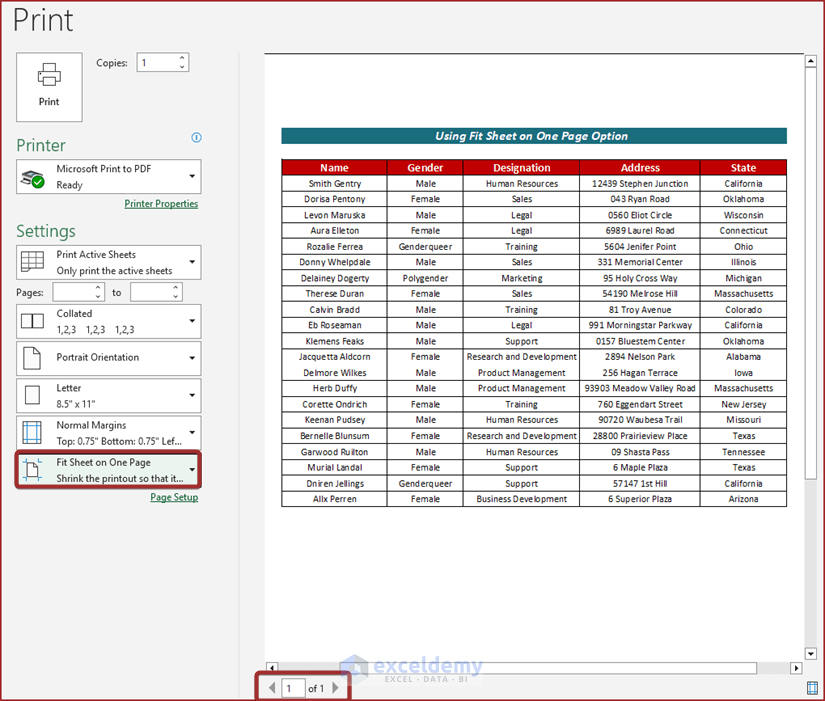
In the Print Preview section, we can see that the entire dataset got adjusted on one page.
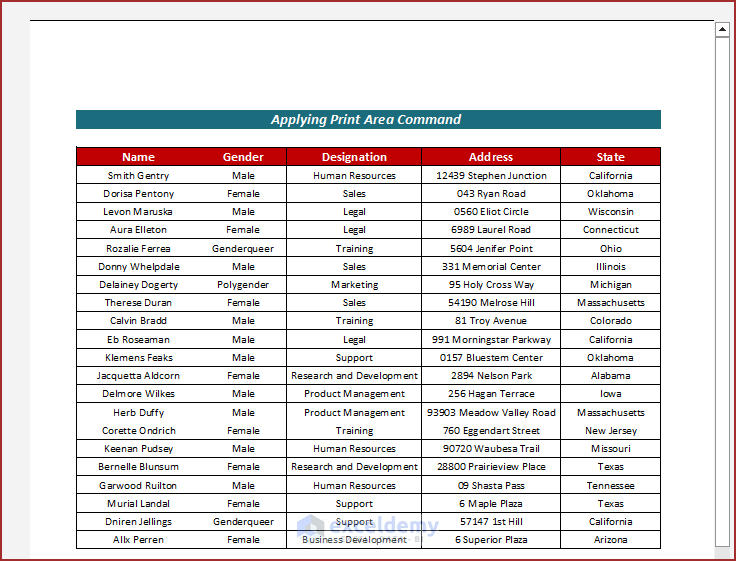
Method 5 – Applying Print Area Command
Steps:
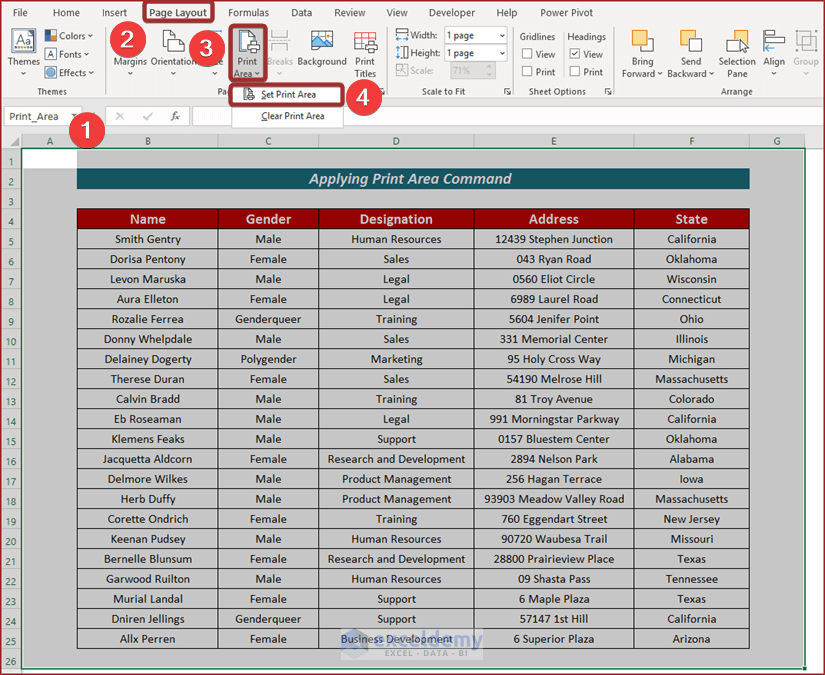
- Select the entire area that you want to print. We have selected cells A1:G26.
- Go to the Page Layout tab.
- Select Print Area from the Page Layout ribbon.
- Pick the Set Print Area option.
- You can crossmatch whether the selected area is ready to print in the Print Preview section.
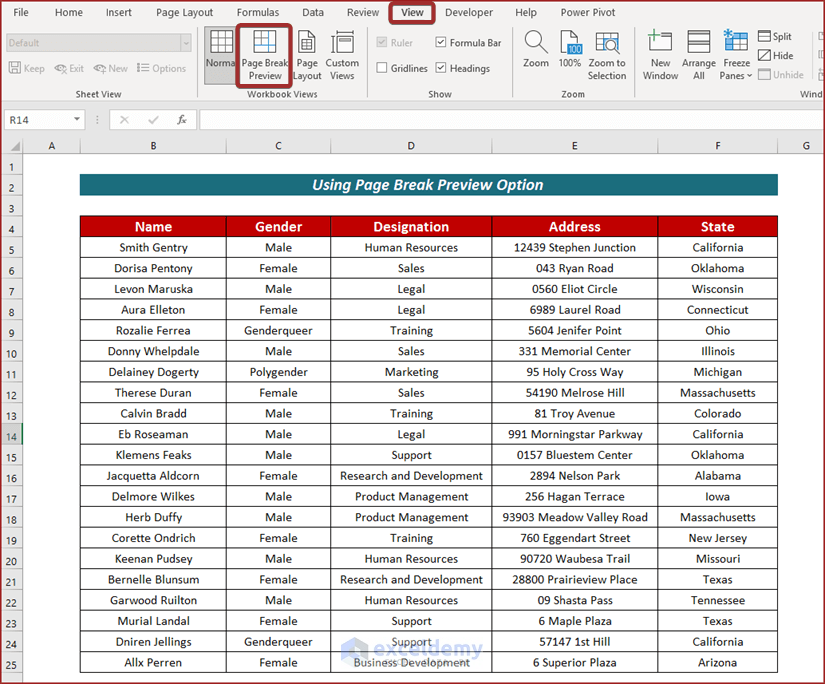
Method 6 – Using Page Break Preview Option
Steps:
- Go to the View tab.
- Select the Page Break Preview option from the View ribbon.
- You will see a blue dotted line as the border between the pages.
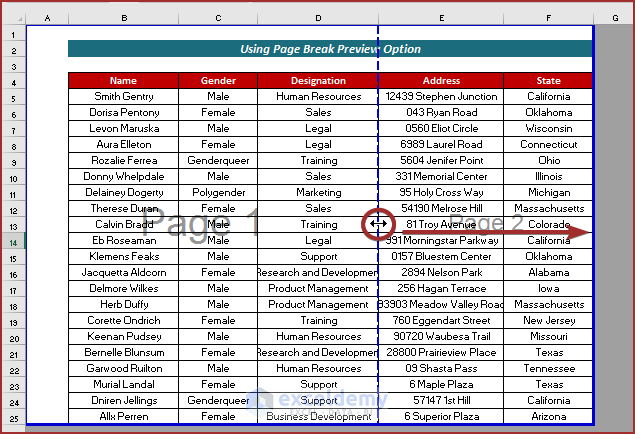
- Extend the blue dotted line as far as you want to print the area on the first page.
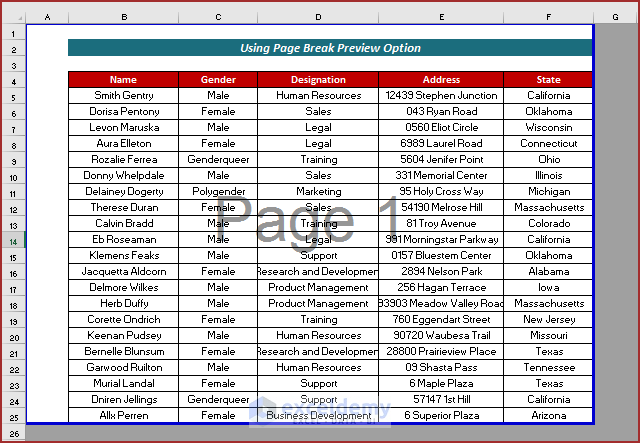
- The Excel spreadsheet got bigger. Confirm it in the Print Preview section.

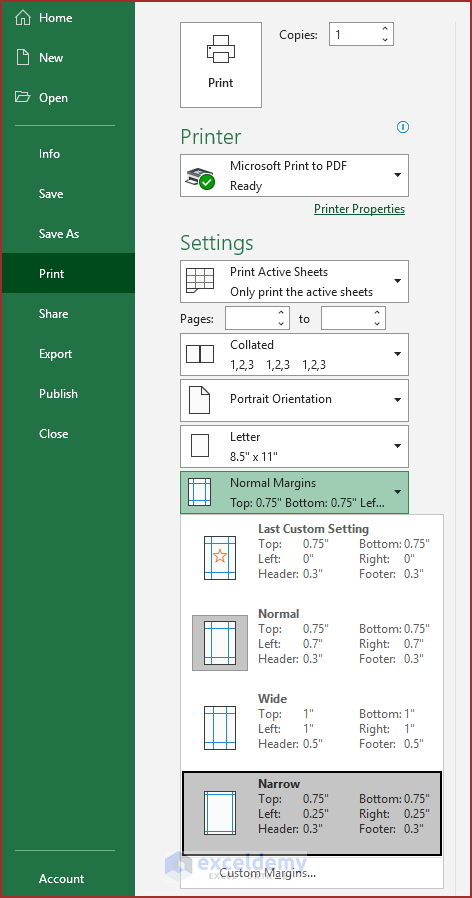
Method 7 – Reducing Page Margins
Steps:
- Go to the File tab.
- Select the Print option.
- Select the Normal Margins option from the Settings section.
- Choose the Narrow option to make the spreadsheet bigger.
Download Practice Workbook
